
but...now that i'm out of that funk...i've been up to a few good projects that i'll blog about over the next few days (because i don't want to overwhelm you guys [read: i don't want to waste all of my posts in one day]) but i thought my biggest project of them all would be the best re-debut.
introducing our new entryway wall.


you: "is that wallpaper?"
me: "nah, it's stenciled."
you: "as in my-great-aunt's-southwestern-print-sponge-paint-in-the-ugly-bathroom stencil?"
me: "yep."
you: mouth gaping open in disbelief.
me: "i know!"
i've been debating what to do with this space since we moved in almost a year ago. it's been totally empty for 11 months and this post by joey and lana over at making a house a home finally got my entryway juices flowing (you don't think i come with these ideas on my own, do you?). their master bedroom stencil adventure came out so beautifully that i decided the zamira print from cutting edge stencils would be the perfect "holy f now THAT's an entryway" print.
five days (yes, FIVE DAYS), two crossed eyes, two sore legs, one cracking wrist joint and a quart of glidden navy blue eggshell later, it was finished. AMEN, i've never been so happy to be done with a DIY project in my entiiiiiiiiiiiiiiiire liiiiiiiiiiiiiiiife. but i lurv it. lurv lurv lurv lurv lurv it.
and i lurv even more that when i'm over it in a year all i have to do is whip out a few sheets of sandpaper and some paint and voila, it's gone.
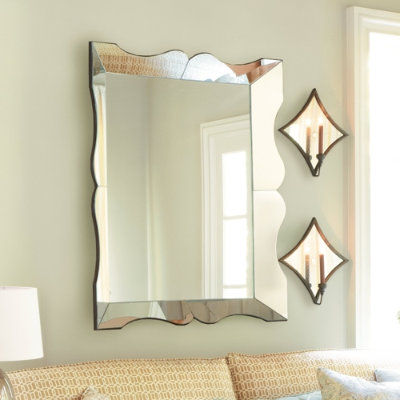
i temporarily flanked the wall with an ugly broken side table, dusty lamp and DIY chair that got booted from the guest room. it's definitely not permanent. now the space is dying for a console table, lamp, giant mirror and door mat. here are the pieces i'm currently carefully considering.
 ikea
ikea


bonus: i found this on my desktop just now and thought you guys deserve a little laugh at my expense after i ditched you for six weeks. zzzzzzzzzzzzzzzzzzzzzzzzzzzzzzzzzzzzzzzzzzz (the sound the segway makes).


7 comments:
Wow!! I love your entryway stencil way (Heather told me about it). I'm super impressed, could NEVER do that. You are amazing!
This is super cool. I've been wanting to wallpaper my entry wall but now I think this is the way to go. However I'm scared about the straight edge, etc. Was this hard? I'm reading the DIY instructions but it sounds challenging for me :) Any other advice?
Coco, I decided to go this route because I have the feeling I'll want to change it down the line and that can be a challenge with wallpaper. However, the actual work to do the stencil was pretty difficult from a physical perspective. I used a tiny roller and it had to be basically dry or the paint would bleed/you wouldn't get that crisp edge. Since the roller had such little paint on it, it took 4-5 coats for each stencil. Super time consuming, hard on the back and feet with all of that standing. But the actual talent level doesn't have to be there - just patience! I worked on that one wall for 6-8 hours a day for 5 days...but it felt great when that last coat went on and I got to admire my work. Also - Cutting Edge Stencils sells a stencil level for $12ish and it helped keep everything straight. Overall, I'd recommend it if you're willing to put the time into it and have the patience to work on it for more than a day.
Awesome, thanks for the reply!
I bought this same stencil and am doing an accent wall with hazel mint green. I am having the hardest time with the paint bleeding through the sides of the stencil so my edges aren't crisp…
What's the trick? Any tips?
Hi Anna -- your roller should have VERY little paint on it. Almost dry.
I love how creative your entryway wall turned out!
Post a Comment